Friday, September 28, 2018

Colouring with Prismacolor Pencils on Dark Cardstock

Dark cardstock presents an interesting tapestry for colouring and the Kaleidoscope Centre Cut background by Simon Says Stamp is a beautiful stamp for colouring.  I embossed the entire stamp image (centre cut piece kept in) with silver embossing powder, because I wanted to try colouring with Prismacolor pencils.  I used multiple colours on the pattern, but I left quite a bit of black to show off the colouring and the colour of the sentiment.  I used purple, green and blue on this background.  The sentiment is from the Altenew Halftone Hello stamp set (I also used the matching die).  I stamped "hello" in a matching purple colour and the rest of the sentiment was white heat embossed on a strip of black cardstock (Licorice by Lawn Fawn).

This version is the same, except I used blues with a little blue-green for accent.
This one has white pencil colouring and a green sentiment.

I think the purple one is my favourite.

Wednesday, September 26, 2018

Tropically Yours Stamp of Approval Collection

Tropical Cards

I love everything tropical - the foliage, the birds, the animals, the colourful water and the humidity.  When I heard the theme for this Stamp of Approval collection (by Catherine Pooler Designs), was Tropically Yours, I was sold.  It falls squarely in my wheelhouse.  The stamp sets are so fun and so well coordinated - they work wonderfully together.  I just had to get inky! (And I took this collection on vacation so I wouldn't have to wait. 😉😊😇)
I used a variety of stamp sets on this card, starting with the Grunge Background, which I stamped in Coral Cabana ink (Catherine Pooler Designs).  I stamped the leaves from the Leave Me In Paradise set using green ink from Gina K Designs (because I could take the ink cubes with me!).  I stamped a variety of border stamps from the Good Vibes border stamp set, using brown ink (also GKD).  Of course, I had to add some tufts of grass and a border underneath the flamingo, so he would have a place to stand.  I used the Coral Cabana ink pad and the direct-to-paper technique to create some flamingo coloured paper, then stamped and die cut the flamingo from the Stand Tall stamp set.  And, flamingos (at least in my world) love bling, so I added some Nuvo Clear Sparkle pen over the entire die cut.  After it dried, I popped it up on the card with some dimensional adhesive and added my sentiment (also from the Stand Tall stamp set).  The final touch was to add some iridescent gems on the flamingo's path and in the top palm leaf.

I stamped a frame of tropical leaves in Jelly Bean, Grass and Fresh Asparagus green inks by Gina K Designs for the next card.  Then I added several small flower accents in Coral Cabana (Catherine Pooler Designs) and a lovely bright yellow (Wild Dandelion by Gina K Designs).  I stamped the sentiment, from Leave Me in Paradise, and added some iridescent gems to the centres of the small flowers.  The last step was to stamp the hibiscus flowers in Coral Cabana and the stamen in Wild Dandelion before adding Nuvo Clear Glitter pen to them.  Once they were dry, I popped them up on the card panel and added the panel to an A2 size card base.  

The next card is a similar design, but I used the leaves from Tropically Yours and stamped them over the entire background panel.  Then, I used a border stamp to provide a grounding for the hibiscus flowers and added a sentiment from the Stand Tall set to finish it off.  I used the same ink colours as for the card above, except I added Coral Reef (GKD) for the centre hibiscus.

Geometric Themed cards

The tropical style is not for everyone. This collection includes some geometric dies that are to die for!  I saw a card by Iliana Crouse that was incredible and I had to make a variation of it.  As I was on vacation I did not have coloured cardstock with me, so I made my own using my ink cubes, Coral Cabana ink pad and some Neenah Solar White 80lb cardstock.  Then, I die cut a bunch of pieces from my handmade coloured cardstock and started adhering them to my card panel.  Each hexagon has three separate pieces.

I stamped the sentiment and border stamps from the Stand Tall stamp set on a square of cardstock that I had coloured with Coral Cabana ink, but it didn't stand out enough from the card front.  My solution was to create a slate coloured geometric border on a strip of of white cardstock and adhere that behind the sentiment panel.  The finishing touch was to add gemstones to the centre of each hexagon stack.

I just couldn't leave the hexagon dies alone and had to make another card.  I used the same direct-to-paper technique with my ink pads to create coloured cardstock, then die cut my hexagons and traded the inner pieces of the die cuts with the outer frames of another colour.  It was a little time consuming, but I like the result.  I added a border along the bottom because there was too much white space for my taste and then I simply had to add a sentiment to finish the card.

I am a huge fan of the Stamp of Approval sets because they make it easy for my to coordinate stamp sets and dies.  This is definitely one of my favourite collections.

Monday, September 24, 2018

Sending Smiles

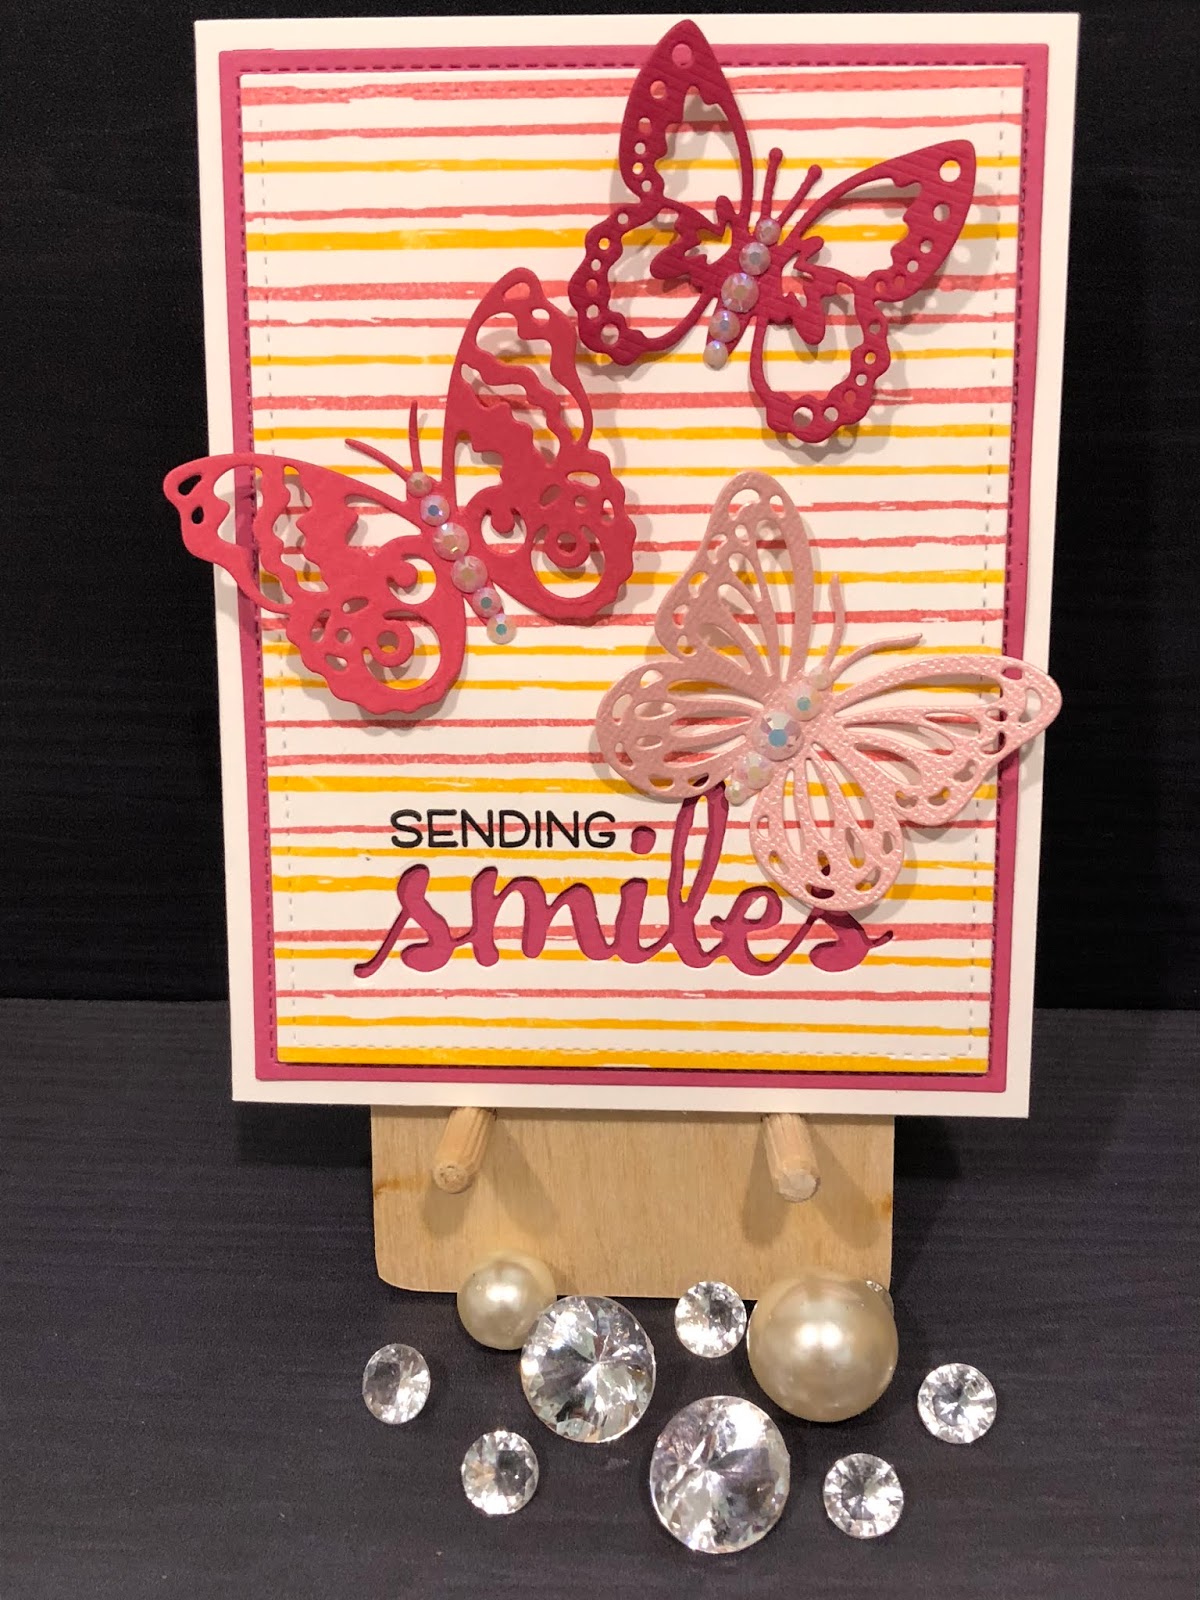
If you follow my Instagram account, you know that I love to save my scrap cardstock pieces and use them for die cutting images.  This card design provided another opportunity to use some of my scraps - this time, for butterflies.

 And, anyone who knows me is aware that I love the chance to add some bling.  To myself, to my cards, to my prop collection.  It's all good!

I started this card set using the Concord & 9th Sketched Stripes background stamp.  (I am in love with their background and turnabout stamp sets.)  I stamped the background stripes in two colours for each background to provide a bit of interest.
Once the backgrounds were stamped, I die cut them, and the coloured layering panels, to the sizes I wanted using the Lawn Fawn Stitched Rectangles Stackables (2nd largest die) and the Lawn Fawn Outside In Stitched Rectangles (largest die).  Then, I determined where I wanted the sentiment to be and die cut the "smiles" sentiment from each stamped background layer. 

 The sentiment die is from the Big, Bold, Friends set by Winnie & Walter.  I then stamped the "sending" sentiment above the die cut using Versafine Onyx Black ink.  This stamp is from the Lawn Fawn Happy Happy Happy stamp set.  The butterflies are from Sizzix and I added some gems from Lucy's Cards to the bodies of each butterfly.  It's hard to capture in the pictures, but the light catches nicely in the gems in person.
I used Neenah Solar White 80lb cardstock for both the stamped background panels and the A2 sized card bases.  The ink is by Catherine Pooler Designs (All That Jazz, Something Borrowed, Party Dress and Tiki Torch).  The coloured cardstock layering panels are Simon Says Stamp cardstock in Island Blue and Doll Pink.

I created a different version of the card using the same background stamp and cardstocks, but switching up the inks (Simon Says Stamp Clementine, Hot Mama, Sea Glass and Island Blue) and using the Island Blue cardstock as the base, instead of the white.  I also  changed the sentiment die to the Fancy Aloha die, by Your Next Stamp, and swapped the individual butterflies for a butterfly border (also by Your Next Stamp). 

The butterflies are die cut out of the stamped background and popped up, offset a bit to show the blue background cardstock.  Instead of die cutting the sentiment out of the background, I die cut it out of matching Island Blue cardstock, stacked several together and slightly offset them onto a black cardstock (Licorice by Lawn Fawn) die cut of the same die.  Next, I adhered the stacked die cut sentiment to the card and, as a final touch, I added Nuvo Crystal Glaze to the butterfly border, to subtly set it apart from the background.

Saturday, September 22, 2018

Clean and Simple Christmas Cards

Christmas Lights 

Colouring is therapeutic and fun.  I really enjoy it.  For this set of simple cards I stamped the Hero Arts Christmas Lights 6 x 6" background stamp on Neenah Solar White 80lb cardstock in Momento Tuxedo Black ink.  I chose this particular ink because it is Copic marker friendly.  Next, I chose markers in the red, green, blue and yellow families and sat down in front of the TV to colour.  I used two shades per colour, as the images are so small.


I tried to follow a pattern with my light colouring (red, blue, green, yellow), but I found the lights didn't line up perfectly for the pattern to work, so I added some purple lights in here and there to fill odd spots.  After the Copic colouring was finished, I added Wink Of Stella clear glitter pen highlighting to each bulb and touched up the base of each bulb with a silver Spica glitter pen. 

The 6 x 6 panel was large enough for me to cut into thirds and create three cards.  I adhered the coloured pattern to the left side of a side folding A2 card base, added a strip of red paper along the edge and stamped a holiday sentiment to the right of the red paper strip, near the bottom of the card.  The Christmas sentiments are from the Hero Arts Poster Christmas Carols stamp set, stamped in Versafine Onyx Black ink.

This card is in the same style, but the sentiment is from the Gina K Designs Christmas Greenery stamp set.

Thursday, September 20, 2018

Die Cut Balloon Cards

A Great Way to Use Scraps

I have a TON of cardstock scraps.  Scraps that I just can't part with because they are good quality cardstock and I'll eventually find a use for them.  Well, I found a use for them.  I made a set of birthday cards with die cut balloons on the front.

The Lawn Fawn Party Balloons Lawn Cuts dies are great for this card design.  There are a variety of shapes and sizes of balloons, as well as balloon strings and dies that allow you at add a highlight to the balloon (which I did not use here).


I cut a whole bunch of balloons in different sizes using the traditional balloon and traditional round balloon shapes.  This is something you can do while you watch TV.

But, the die cuts looked boring.  So, I pulled out a variety of old embossing folders (Stampin' Up!, Lifestyle Crafts, Taylored Expressions, Sizzix, Richard Garay, Design Objectives and a couple that are unmarked) and added embossed patterns to the balloons. 


Next, I die cut a bunch of balloon strings.  Once my images were all cut out, I arranged them on the front of my card in a pattern that seemed to work. 


Again, I thought the design looked boring.  And again, I decided to pull out my embossing folders to add some texture - this time to the card panel. 


Once I was happy with the card panel, I adhered it to the card base and added the balloons and balloon strings.  I then cut by hand some simple banners and rectangles, appropriately sized to fit on my card, and added a birthday sentiment with some Versafine Black Onyx ink. 
Below is a view of all of the cards together.


Tuesday, September 18, 2018

Hello, you cheeky monkey!

Embossing, Metallic Markers & Perfect Pearls


I fell in love with the Ornate Background stamp from Simon Says Stamp as soon as I saw it.  I pictured myself trying multiple techniques with it and these cards show the first few that I tried.


For this card, I treated the background panel of Neenah Solar White 80lb cardstock with my anti static powder tool, then I stamped the background image with Versamark embossing ink.  Next, I embossed the image using fine silver embossing powder from Ranger.  Once the background was ready for colouring, I pulled out my Crafter's Companion Precious Metals and Rare Minerals metallic markers and went to town colouring the image.  I love colouring.  I adhered the panel to a card base of Black Licorice cardstock from Lawn Fawn. 
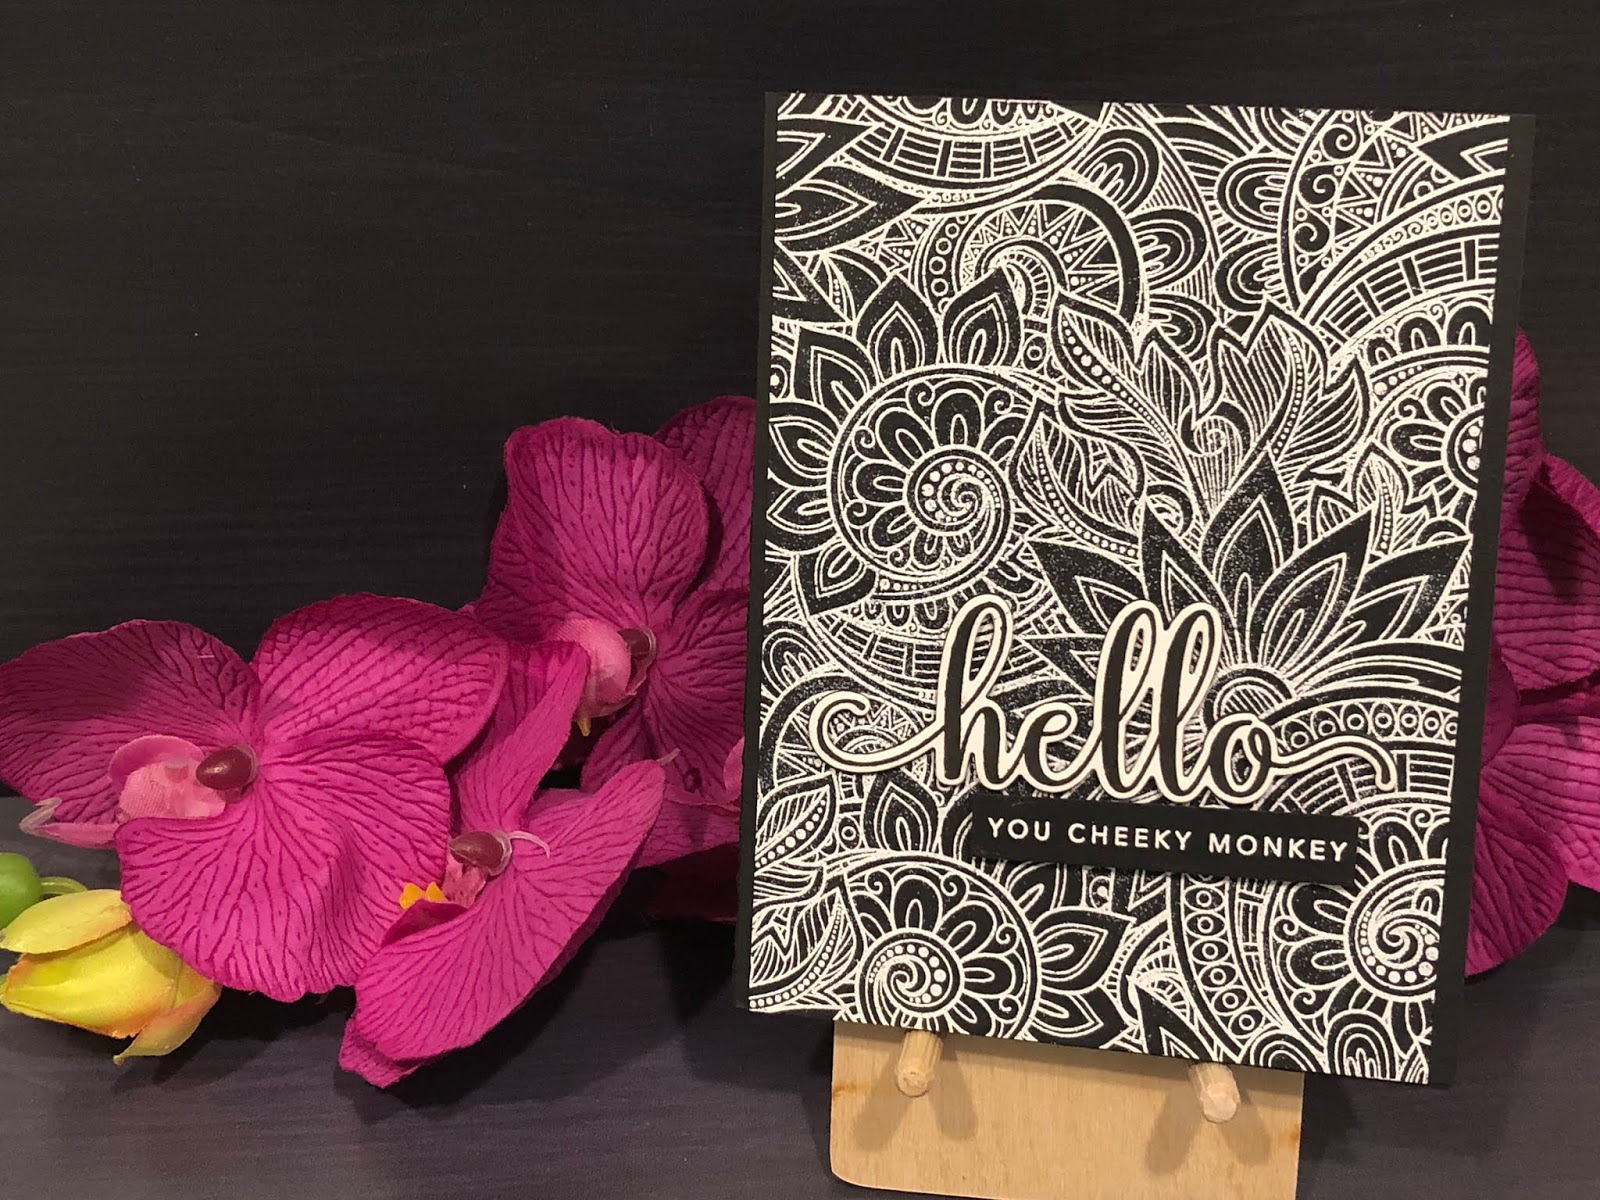
This version of the card is simpler.  I treated the background panel of Black Licorice cardstock with my static powder tool, then I stamped the background image with Versamark embossing ink.  Instead of embossing in silver, I used a fine detail white embossing powder (also from Ranger).  I love the simple but dramatic contrast of the white on the black.


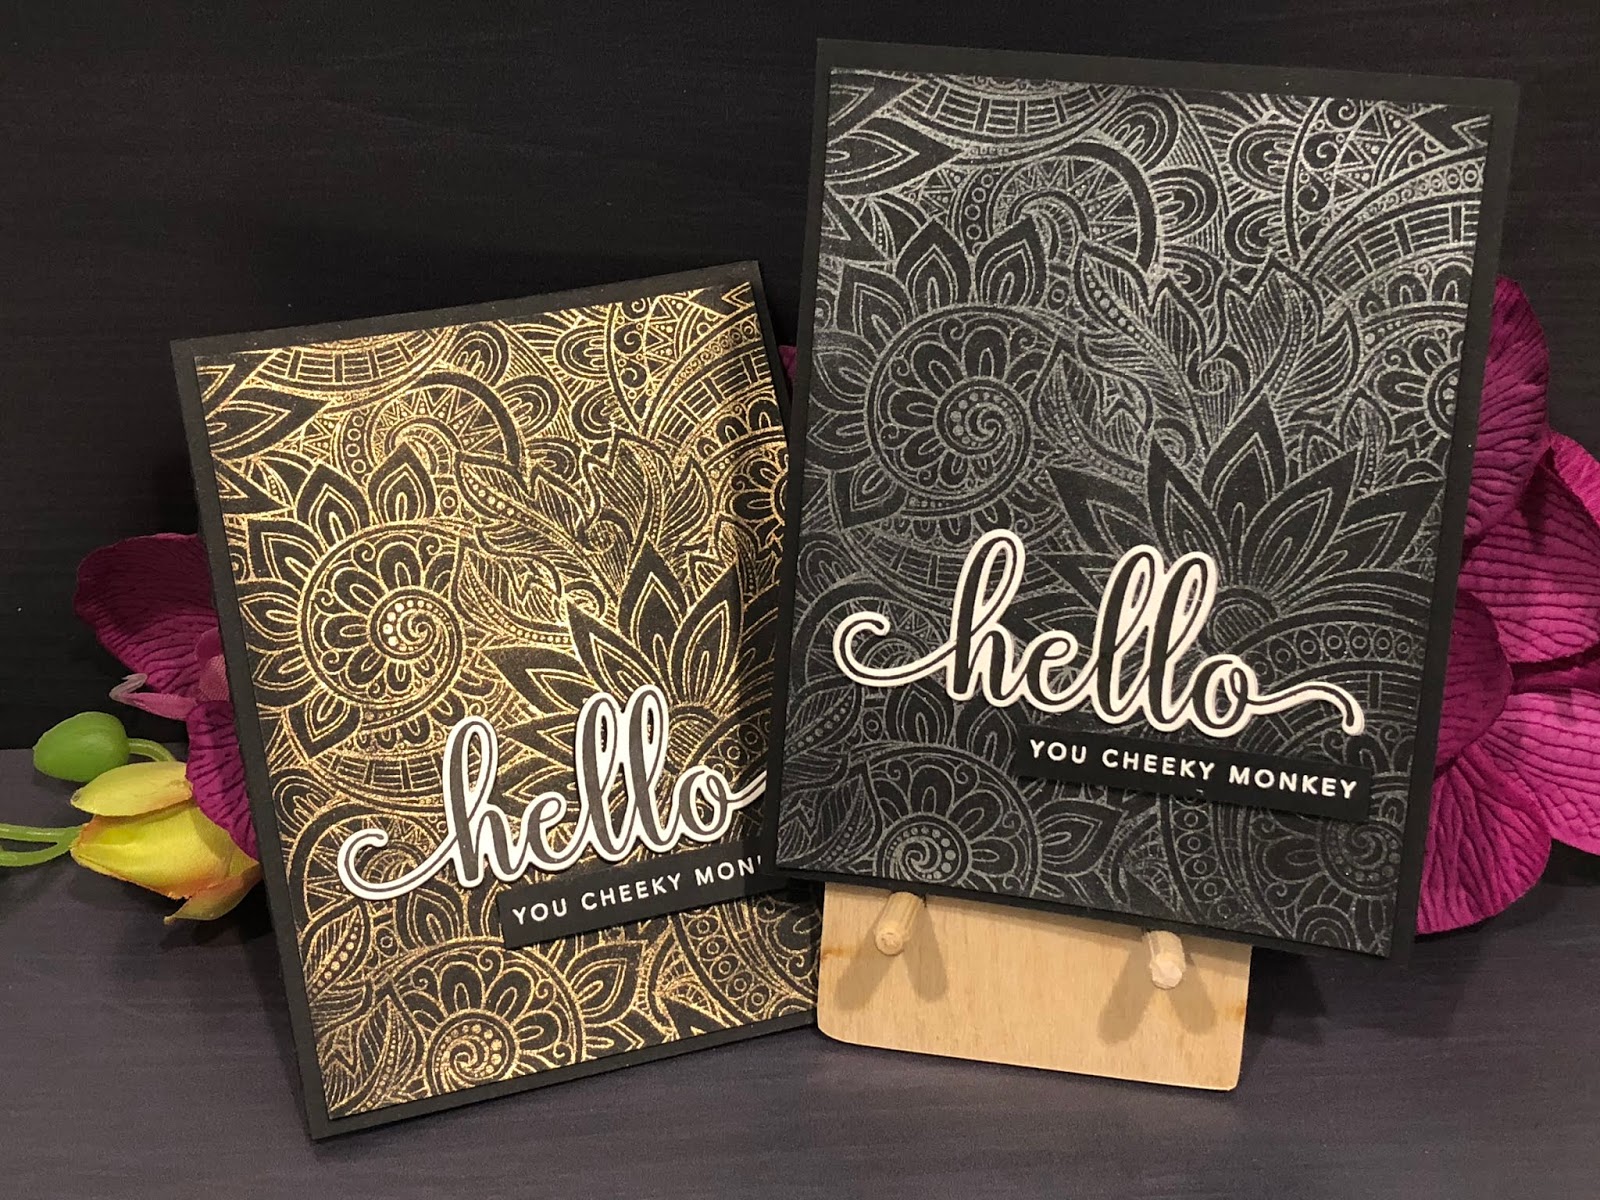
Below are two backgrounds that I created using embossing ink and Perfect Pearls powders in Perfect Gold and Perfect Pearl colours.  I set the powder with a fine mist of water.


The final touch for these cards is the fabulous sentiment - hello you cheeky monkey!  This is a CZ Designs stamp set with a matching die for the large "hello" sentiment. I stamped the large "hello" sentiment in Versafine Black Onyx ink on Neenah Solar White 80lb cardstock and die cut it.  I stamped the smaller sentiment on some Black Licorice cardstock and embossed it with white embossing powder.  Then, I adhered the sentiments to the card panel.


I love this set.  It's full of all kinds of snarky sayings that make me laugh out loud.  My girlfriends are definitely going to get a kick out of these cards. 

Sunday, September 16, 2018

Girlfriend Cards

So Suzy Silhouette Stamps

As I've mentioned before, I love to make encouragement cards for my girlfriends.  Some have funny sayings inside, some have encouraging sentiments and some have both.  So Suzy Stamps has a number of silhouette stamps that I just love and they are perfect for this purpose.


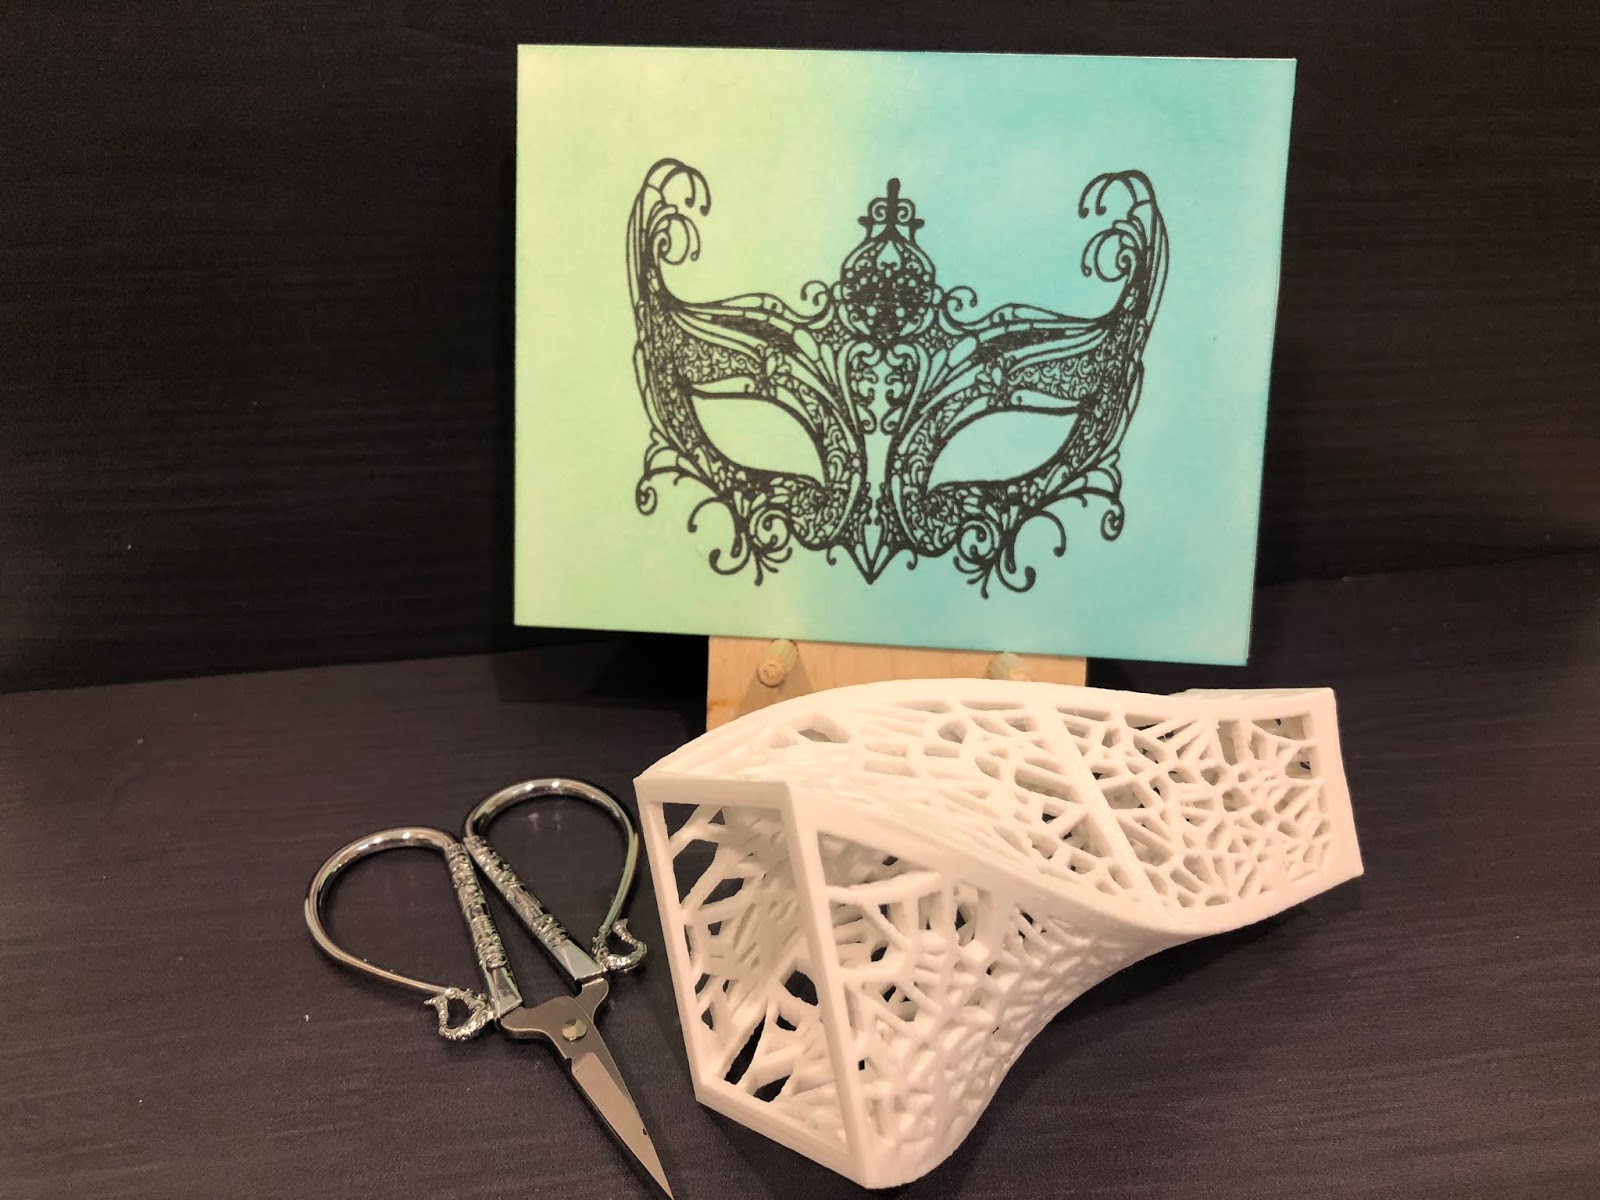
For the first three cards, I blended full card panel backgrounds using Distress Oxide inks and then stamped a silhouette stamp over the ink blending.  To get a good impression, I stamped the images more than once.


This is the Venetian Mask stamp and I just love the detail .  I stamped using Versafine Onyx Black Ink for a crisp image.  There are other good black inks, but I tend to gravitate toward this one for crisp images.
This is the Black Slinky Dress stamp.  Again, I love the detail - the pretty hanger and the swirls at the bottom.  The addition of the high-heeled shoes in the background is a nice touch.


I wanted this card to have a dramatic background, so I used oranges and deep yellows for the blending.
Another great image is the Marilyn Monroe stamp.  The sentiment is included in the stamp beside the image of the woman.  I love the retro look of the hat and dress and the sentiment makes me laugh!


For this image I used blues and greens again, for more subtlety.


I need some practice with ink blending, but I'm working on it.
For the next three cards, I used the same ink blending technique, but I used Brutus Monroe Simple Blend stencils.  They are available in oval, square and round so far (but, I'm hoping for more!).


The oval ink blending created a lovely focal area in which to stamp the Swirly Hearts stamp.  The sentiment stamp is from a set by The Ton called Timeless Icons.  It's a great collection of quotes of Coco Chanel and Audrey Hepburn.
The next two cards follow the same style as the oval focal point card.  I made two of them using the same silhouette stamp, Martini Lady by So Suzy Stamps, with different quotes from The Ton's Timeless Icons sentiment stamp set.


I did one in cool tones and one in warm tones.  I think my girlfriends will get a kick out of these cards.
By the way, that little card stand that I've been using in my pictures was a gift with purchase when I bought some organizers from Organize More.  Thanks so much for the sweet gift!