Showing posts with label Ranger. Show all posts

Thursday, October 04, 2018

Creating Pocket Scrapbooking Cards

General Travel Theme

The pocket scrapbooking card-making idea really caught on with me.  I decided to make some general cards and a couple of cards.  I used a kraft cardstock base, the My Favourite Things Arrows Abound stencil and Distress Oxide inks.  I used a small sponge dauber to alternate the light green-blue with the darker blue for added interest. 

To jazz up the larger card, I added a scrap of blue paper to the bottom of the card, die cut to match the shape of the card and also with a zigzag border die from Pretty Pink Posh. 

I like that these cards have a simple background pattern, but that the colour on the kraft makes the arrow design pop.
This is a similar design using another common travel theme:  planes.  Kraft cardstock base with Black Soot Distress ink used to ink the planes through the stencil (Carta Bella's "Planes").  A simple set of cards that can be used for a variety of trip themes, so long as a plane is involved of course!

Below is another general themed card that can be used for a variety of trips -- a world map.  I stamped the Darkroom Door World Map on a scrap of dark brown cardstock and embossed it with gold embossing powder.  The other version was stamped in Dark Chocolate ink on Honey Mustard cardstock (both Gina K Designs).

Friday, September 28, 2018

Colouring with Prismacolor Pencils on Dark Cardstock

Dark cardstock presents an interesting tapestry for colouring and the Kaleidoscope Centre Cut background by Simon Says Stamp is a beautiful stamp for colouring.  I embossed the entire stamp image (centre cut piece kept in) with silver embossing powder, because I wanted to try colouring with Prismacolor pencils.  I used multiple colours on the pattern, but I left quite a bit of black to show off the colouring and the colour of the sentiment.  I used purple, green and blue on this background.  The sentiment is from the Altenew Halftone Hello stamp set (I also used the matching die).  I stamped "hello" in a matching purple colour and the rest of the sentiment was white heat embossed on a strip of black cardstock (Licorice by Lawn Fawn).

This version is the same, except I used blues with a little blue-green for accent.
This one has white pencil colouring and a green sentiment.

I think the purple one is my favourite.

Tuesday, September 18, 2018

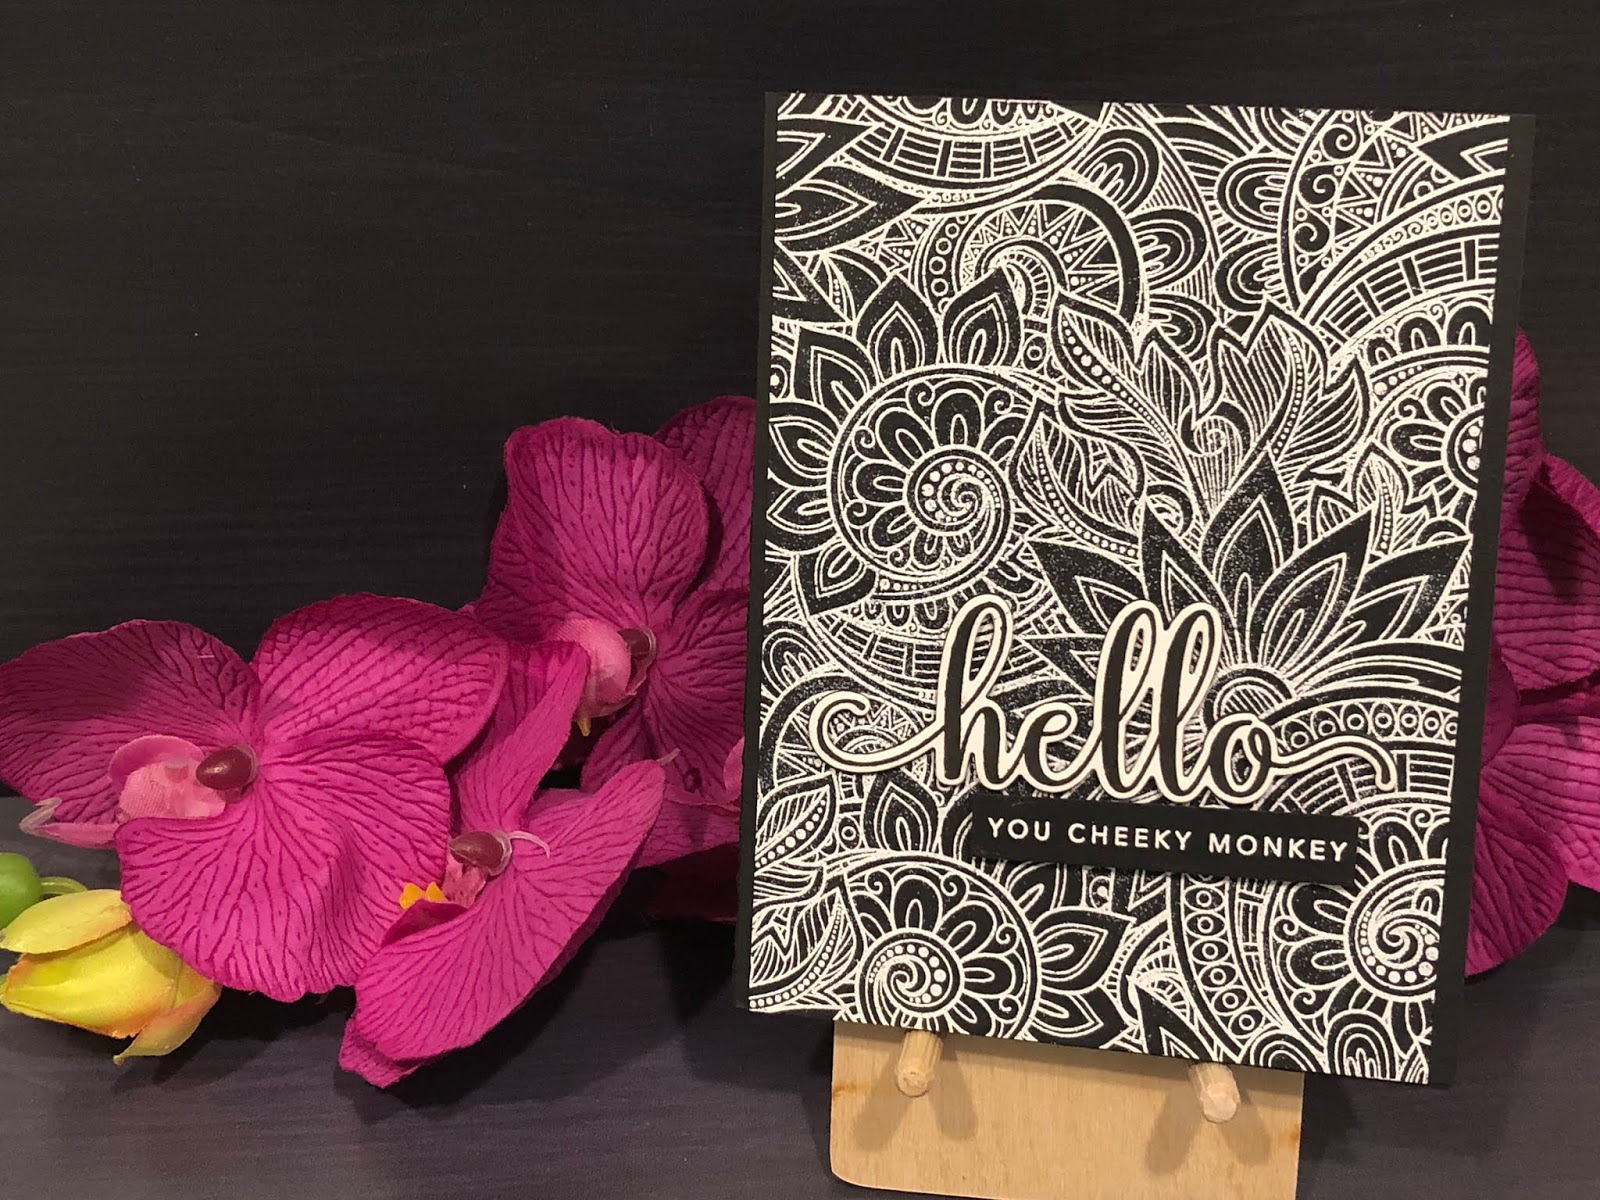
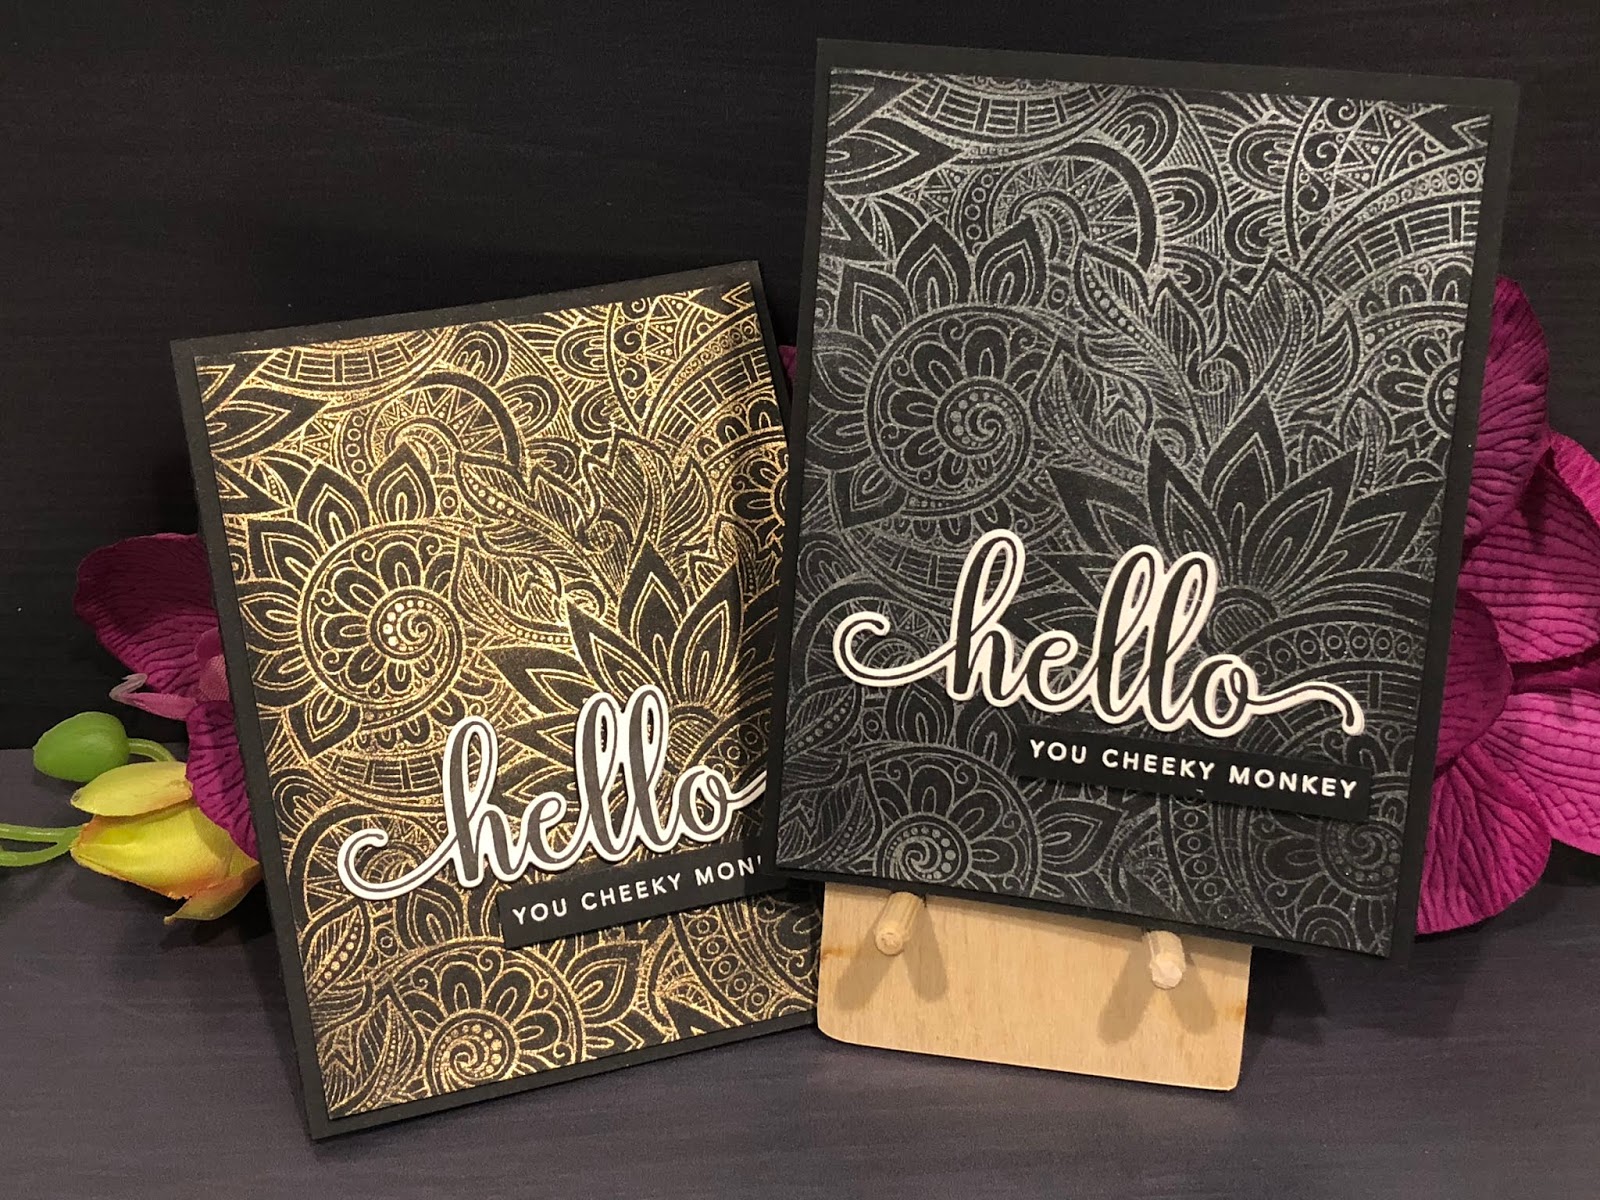
Hello, you cheeky monkey!

Embossing, Metallic Markers & Perfect Pearls


I fell in love with the Ornate Background stamp from Simon Says Stamp as soon as I saw it.  I pictured myself trying multiple techniques with it and these cards show the first few that I tried.


For this card, I treated the background panel of Neenah Solar White 80lb cardstock with my anti static powder tool, then I stamped the background image with Versamark embossing ink.  Next, I embossed the image using fine silver embossing powder from Ranger.  Once the background was ready for colouring, I pulled out my Crafter's Companion Precious Metals and Rare Minerals metallic markers and went to town colouring the image.  I love colouring.  I adhered the panel to a card base of Black Licorice cardstock from Lawn Fawn. 
This version of the card is simpler.  I treated the background panel of Black Licorice cardstock with my static powder tool, then I stamped the background image with Versamark embossing ink.  Instead of embossing in silver, I used a fine detail white embossing powder (also from Ranger).  I love the simple but dramatic contrast of the white on the black.


Below are two backgrounds that I created using embossing ink and Perfect Pearls powders in Perfect Gold and Perfect Pearl colours.  I set the powder with a fine mist of water.


The final touch for these cards is the fabulous sentiment - hello you cheeky monkey!  This is a CZ Designs stamp set with a matching die for the large "hello" sentiment. I stamped the large "hello" sentiment in Versafine Black Onyx ink on Neenah Solar White 80lb cardstock and die cut it.  I stamped the smaller sentiment on some Black Licorice cardstock and embossed it with white embossing powder.  Then, I adhered the sentiments to the card panel.


I love this set.  It's full of all kinds of snarky sayings that make me laugh out loud.  My girlfriends are definitely going to get a kick out of these cards. 

Tuesday, March 27, 2018

Concord & 9th Christmas Cards

Ornamental Bundle

I was having quite a bit of fun making Christmas cards this year, especially using the Concord and 9th Christmas release.  For my first card, I made two colour combinations – red & gold and green, red & gold. I used Ranger embossing powder to emboss both the ornament and the sentiment and then I die cut the ornament and an ornament topper, adhered the topper on the ornament and  added an ornament string.

Concord & 9th Ornament - red and gold


Concord & 9th Ornament - red, green and gold


I used Ranger embossing powder to emboss both the ornament and the sentiment and then I die cut the ornament and an ornament topper, adhered the topper on the ornament and  added an ornament string. Lastly, I popped the ornament up on foam tape and placed it on a background of Lawn Fawn patterned paper.

Trim the Tree w/turnabout stamp background

The Trim the Tree set looks so good with the Christmas Cheer Turnabout stamp set. I am really
pleased with how these cards turned out.

Tree stripe detail with bow topper
Stamped ornaments on tree with star topper


I used Lawn Fawn inks to stamp the turnabout in different colour combinations and added the die cut tree to the front of the card panel. The tree was stamped with a sentiment and ornaments or with the stripes border stamp, using Versamark ink, to create dimension. The tree topper is either a die cut star or bow.


Sunday, January 28, 2018

Cards for my nephew to give as gifts

My nephew is in grade one this year and two of his friends have moved away.  Both are big changes in his life.  I asked him if he would like me to make some cards to send to his friends and he liked that idea, so I am going to send him a set of cards with his Valentine's Day card.  Pictures and details of the cards are below.

Cute Birdies
I used the Concord & 9th Birdie Banners and Alpha Bits sets for both cards and, on the card on the right side, I added a tree from the Gina K. Designs set Friends 'til the End.  I stamped with a variety of Lawn Fawn inks and used Tim Holtz Ranger Distress Markers to draw the grass and colour the wings and tail on the birds.  The clouds were blended in using Distress Ink and the My Favorite Things mini clouds stencil.  The last step was to score a line around the edge of the front of the card.

Cute critter cards
These one-layer cards were made using the Gina K. Designs stamp set Friends 'til the End.  I stamped the images on the left card with Momento Tuxedo Black ink and coloured the images with Chameleon coloured pencils.  The card on the right was stamped using a combination of Lawn Fawn coloured inks and Momento Tuxedo Black ink.  The owl was coloured with coloured pencils and the grass was drawn in with a Ranger Distress marker.  I masked the owl with a trimmed post-it note and blended the clouds onto the card panel using Ranger Distress ink and the MFT mini cloud stencil.  The last step was, again, to score a line around the edge of the card.

Airplane cards
One of my nephew's interests is things that fly so I used this cute Lawn Fawn set, Plane and Simple, to stamp and die cut the images.  They were coloured with Copic markers and adhered to a card panel that was embossed using the Lawn Fawn Stitched Cloud Backdrop (Landscape) after being cut down to size with the second largest die from the Lawn Fawn 4-bar sized Stitched Rectangle Stackables.

Buzy Bees
The cute little bees from the Honey Bee stamp set Build-a-Bee set make me smile.  I hope they make my nephew smile, too.  I coloured the bees with Copic markers, embossed the coloured card panel with a Lifestyle Crafts embossing folder and used a sentiment on the inside from the Honey Bee Bee-You-Tiful Sentiments set.

Monster Truck cards
And, since he loves them, I had to make a couple of cards with monster trucks that he could send to his friends.  The notecard is a 4-bar sized Lawn Fawn card and the panel was cut with the second largest of the 4-bar sized Stitched Rectangle Stackables and embossed with the Stitched Cloud Backdrop (Portrait).  The grass and the label were also both Lawn Fawn dies. The trucks are from the Your Next Stamp set called "Got Mud?" and were coloured with Chameleon coloured pencils.