Showing posts with label Altenew. Show all posts

Monday, June 24, 2019

Set of Square Greeting Cards

Greeting Card Set

Set of four greeting cards available for purchase in my Etsy shop.  The set includes two birthday cards, a thank you card and a sympathy card.  I created a set in each of six colours:  yellow, green, teal, coral, purple and blue.  The colour selections are shown below.


I also include an envelope for each in the card set and I've adorned each with a matching stamped image (shown below).


The card to the left shows the blue background option.
 The green option is shown to the right.
A bright yellow version is also available.
As is a purple background.

Saturday, June 22, 2019

Greeting Card Set

Set of Four Greeting Cards


I have started an Etsy shop to sell my cards and I have slowly been stocking it up.

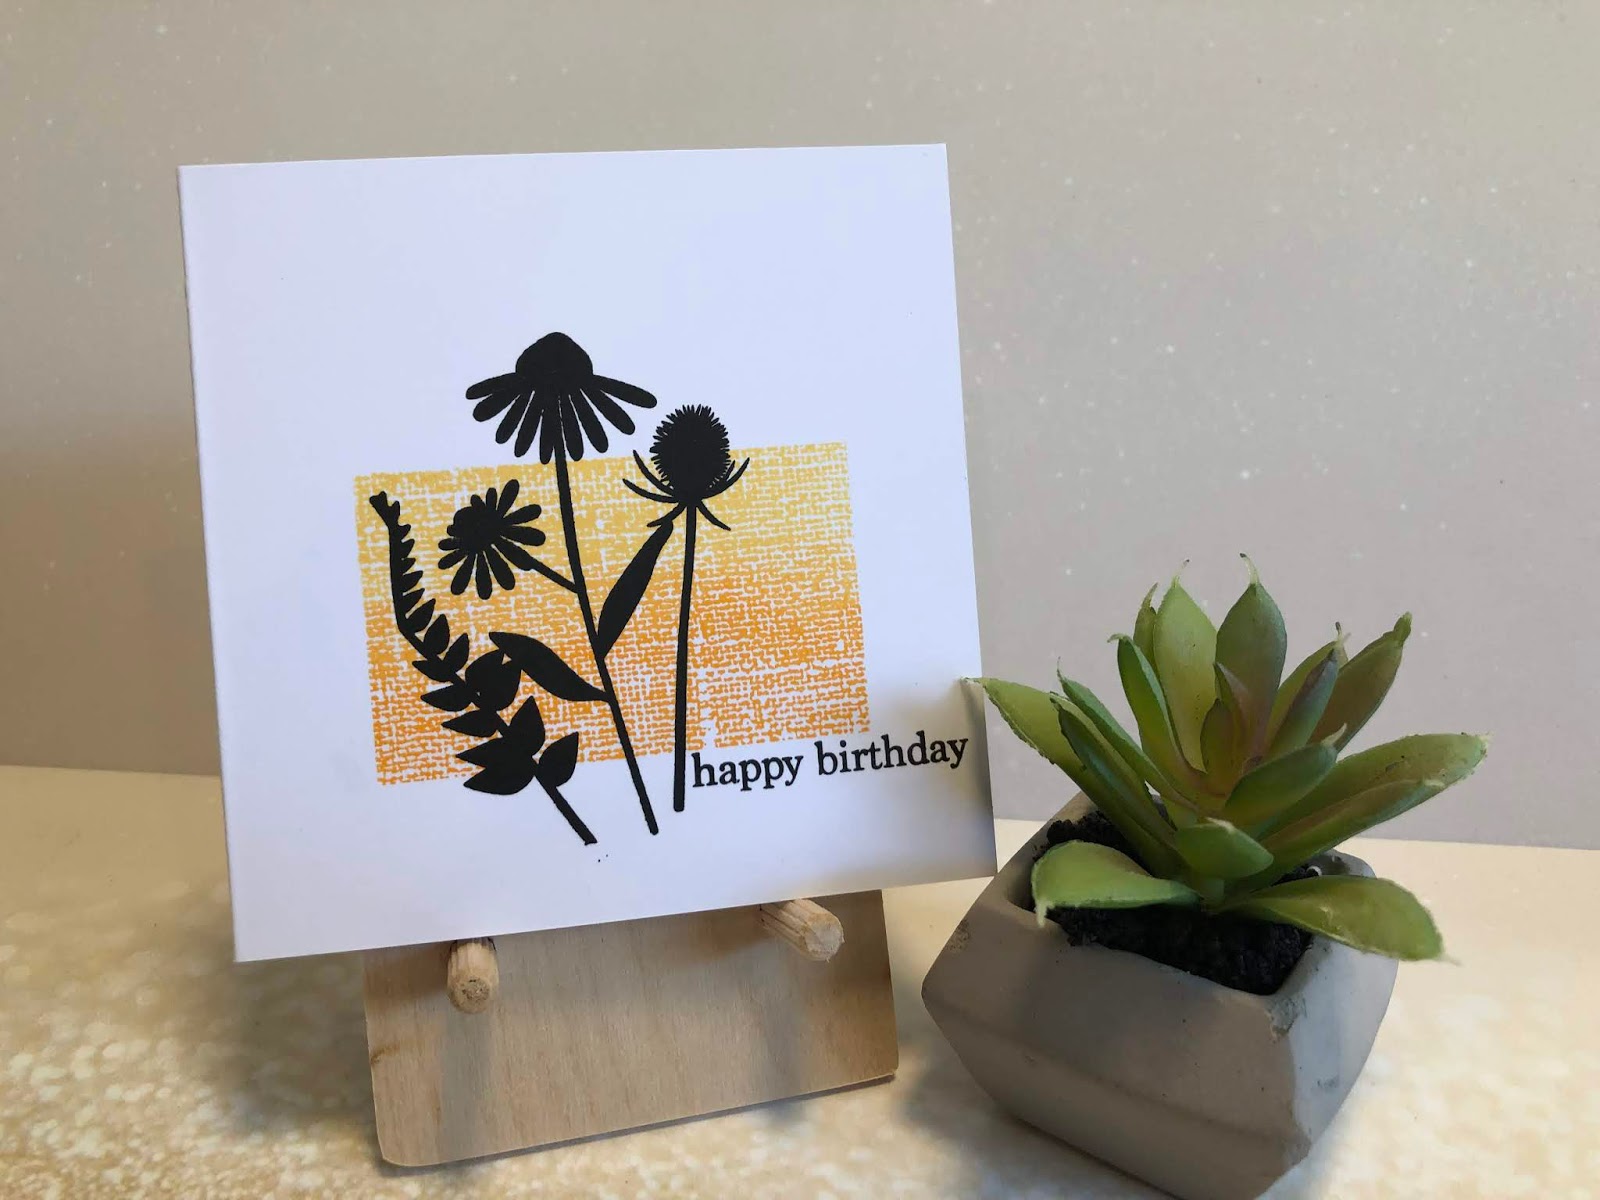
This is one of four cards included in a set of four cards that I have added to my shop as a set.  This set is A2 sized and includes two birthday cards, a thank you card and a friendship card.

The coloured background is a patterned stamp from the Background Textures stamp set that is part of the Club Sursee monthly subscription kit from Catherine Pooler Designs.


Above is a photo of the green version of the set of four cards.  Each set has cards with matching backgrounds and black silhouette images.  Below are other colours of backgrounds that are also available.

To the left is the blue version. The background stamp was stamped with Catherine Pooler Designs inks in two shades.  The sentiment stamp and the floral and foliage images were stamped with Versafine Onyx Black ink for a crisp silhouette.
 To the right is a coral coloured version.
 Purple is also lovely in this design.
The teal is my favourite version.  It reminds me of the Caribbean.

Friday, September 28, 2018

Colouring with Prismacolor Pencils on Dark Cardstock

Dark cardstock presents an interesting tapestry for colouring and the Kaleidoscope Centre Cut background by Simon Says Stamp is a beautiful stamp for colouring.  I embossed the entire stamp image (centre cut piece kept in) with silver embossing powder, because I wanted to try colouring with Prismacolor pencils.  I used multiple colours on the pattern, but I left quite a bit of black to show off the colouring and the colour of the sentiment.  I used purple, green and blue on this background.  The sentiment is from the Altenew Halftone Hello stamp set (I also used the matching die).  I stamped "hello" in a matching purple colour and the rest of the sentiment was white heat embossed on a strip of black cardstock (Licorice by Lawn Fawn).

This version is the same, except I used blues with a little blue-green for accent.
This one has white pencil colouring and a green sentiment.

I think the purple one is my favourite.

Thursday, September 20, 2018

Die Cut Balloon Cards

A Great Way to Use Scraps

I have a TON of cardstock scraps.  Scraps that I just can't part with because they are good quality cardstock and I'll eventually find a use for them.  Well, I found a use for them.  I made a set of birthday cards with die cut balloons on the front.

The Lawn Fawn Party Balloons Lawn Cuts dies are great for this card design.  There are a variety of shapes and sizes of balloons, as well as balloon strings and dies that allow you at add a highlight to the balloon (which I did not use here).


I cut a whole bunch of balloons in different sizes using the traditional balloon and traditional round balloon shapes.  This is something you can do while you watch TV.

But, the die cuts looked boring.  So, I pulled out a variety of old embossing folders (Stampin' Up!, Lifestyle Crafts, Taylored Expressions, Sizzix, Richard Garay, Design Objectives and a couple that are unmarked) and added embossed patterns to the balloons. 


Next, I die cut a bunch of balloon strings.  Once my images were all cut out, I arranged them on the front of my card in a pattern that seemed to work. 


Again, I thought the design looked boring.  And again, I decided to pull out my embossing folders to add some texture - this time to the card panel. 


Once I was happy with the card panel, I adhered it to the card base and added the balloons and balloon strings.  I then cut by hand some simple banners and rectangles, appropriately sized to fit on my card, and added a birthday sentiment with some Versafine Black Onyx ink. 
Below is a view of all of the cards together.


Monday, September 10, 2018

Birthday Cards for Kids

A Variety of Card Styles and Colours

I am making some cards for my sister's stash.  My nephew is at the age where he attends quite a few birthday parties for his friends and I said that I would make some cards for him to have on hand.  I started by using some dies from the June 2018 Spellbinders monthly die subscription.  The set includes a candle and a cupcake with some flower embellishments.

Candles

I created the same version of this card several times, but added a different number of candles to the front of each thinking that the card could be used for a person the age of the number of candles on the card.

My scrap bin came in handy for making the candles for these cards.  I used my Momento Tuxedo Black marker to colour the wicks of the candles. 

I kept the cards fairly simple.  I used patterned paper on the base of each card from the Swirly Fun 6 x 6 paper pad (by Your Next Stamp).  The card bases are made from Neenah Solar White 80lb cardstock.  I popped the candles and flames up using foam squares and the sentiment is from the Altenew Birthday Builder stamp set.


Cupcakes

I made a couple of cupcake birthday cards in traditional masculine colours, blue and green.  Of course, there had to be a candle on the cupcake for a birthday card.

I like that the dies have embossing detail in them.  In order to take advantage of this option, after die cutting the image you run the die cut image through the machine again,  using an embossing mat instead of the bottom cutting plate.  The pressure from the machine essentially squishes the paper into the embossing areas on the die and you wind up with an embossed pattern.  Easy peasy.

You'll notice that there are embossing line details on the cupcake wrapper, swirls in the cupcake icing and (although it is hard to see) curved line details in the candle and the flame.  The embossing creates extra dimension in the images.  Next time, I think I'll blend a bit of distress ink over the images to make the embossing lines more visible.  


I created a second version of the card using traditionally feminine colours.  This is the same design as the masculine version, but I added the decorative flowers to the pink and red(ish) versions of the card.  The flowers also have embossing detail, which adds to the image.

Again, I used patterned paper from the Swirly Fun paper pack by YNS.

Thursday, February 01, 2018

75th Birthday Card

Follow my blog with Bloglovin


A die set that I couldn’t wait to use – the Altenew Layered Plaid cover dies.


The sentiment is from the Happy Everything Lawn Fawn stamp set, stamped on a Bannertastic stamped (and die cut) sentiment strip.  I used Louie’s 123 dies to cut the numbers.