Showing posts with label Distress Oxide Inks. Show all posts

Saturday, October 06, 2018

Halloween Shadow Box Tunnel Card

Ghosts, Bats and a Black Cat

The Spellbinders Large and Small Die-of-the-Month Kits for September 2018 had a Halloween theme.  Yay!  I used the dies from the Small Die set, along with others in my stash, to create this card.


All of the panels for the card are ink blended using Distress Oxide inks in Seedless Preserves, Dusty Concord and Black Soot.  They were then given some texture using water, a Distress Sprayer and a paper towel to blot the sprayed water.  On the front of the card, the bats and the ghosts are from the Spellbinders Small Die set.  The fence is a die from a recent release from Lawn Fawn.  The spider, spider web and the sentiment are stamps from the Everything But the Broom stamp set by Catherine Pooler Designs.


In this close-up of the inside you can see the layers in the box card.  On the layers I added die cut embellishments, including the sentiment, from the Spellbinders Small Die set.  I tucked the spooky cat between the fences and added the cute little ghost to the side of the panel to make it look like he's peeking out.  The tree and headstone images on the back panel were stamped using Midnight ink from Catherine Pooler Designs.  I used two sizes of circle punch by Stampin' Up! to cut the moon out of gold glitter paper from the Lawn Fawn Autumn Glitter Paper collection - after the larger circle was cut, I used the smaller circle to cut the crescent shape.  It took a couple of tries to get the look I wanted.


Isn't he a cute and happy looking ghost?  That's why I like him so much!


Above is a panned out view of the card.  Notice that I added the ornate skull-topped piece to the top of the card.  I wanted it to look like the entrance to the graveyard.

Thursday, October 04, 2018

Creating Pocket Scrapbooking Cards

General Travel Theme

The pocket scrapbooking card-making idea really caught on with me.  I decided to make some general cards and a couple of cards.  I used a kraft cardstock base, the My Favourite Things Arrows Abound stencil and Distress Oxide inks.  I used a small sponge dauber to alternate the light green-blue with the darker blue for added interest. 

To jazz up the larger card, I added a scrap of blue paper to the bottom of the card, die cut to match the shape of the card and also with a zigzag border die from Pretty Pink Posh. 

I like that these cards have a simple background pattern, but that the colour on the kraft makes the arrow design pop.
This is a similar design using another common travel theme:  planes.  Kraft cardstock base with Black Soot Distress ink used to ink the planes through the stencil (Carta Bella's "Planes").  A simple set of cards that can be used for a variety of trip themes, so long as a plane is involved of course!

Below is another general themed card that can be used for a variety of trips -- a world map.  I stamped the Darkroom Door World Map on a scrap of dark brown cardstock and embossed it with gold embossing powder.  The other version was stamped in Dark Chocolate ink on Honey Mustard cardstock (both Gina K Designs).

Sunday, September 16, 2018

Girlfriend Cards

So Suzy Silhouette Stamps

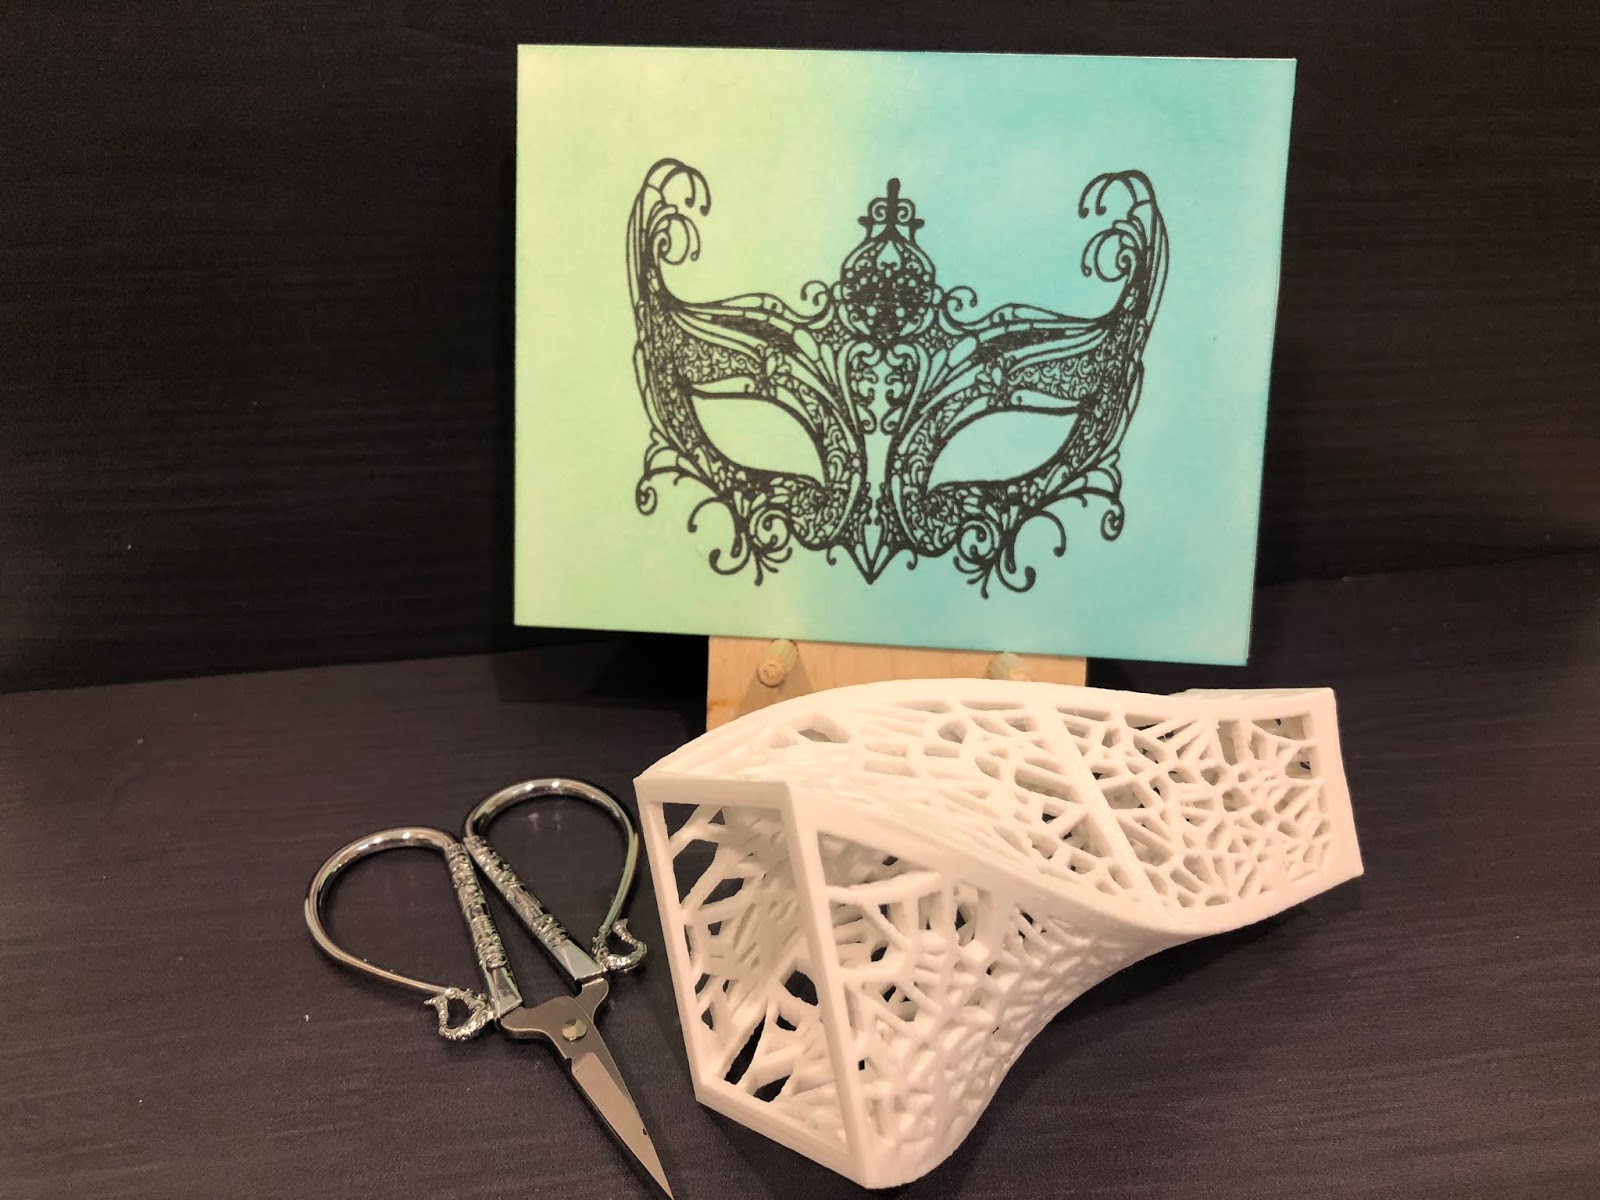
As I've mentioned before, I love to make encouragement cards for my girlfriends.  Some have funny sayings inside, some have encouraging sentiments and some have both.  So Suzy Stamps has a number of silhouette stamps that I just love and they are perfect for this purpose.


For the first three cards, I blended full card panel backgrounds using Distress Oxide inks and then stamped a silhouette stamp over the ink blending.  To get a good impression, I stamped the images more than once.


This is the Venetian Mask stamp and I just love the detail .  I stamped using Versafine Onyx Black Ink for a crisp image.  There are other good black inks, but I tend to gravitate toward this one for crisp images.
This is the Black Slinky Dress stamp.  Again, I love the detail - the pretty hanger and the swirls at the bottom.  The addition of the high-heeled shoes in the background is a nice touch.


I wanted this card to have a dramatic background, so I used oranges and deep yellows for the blending.
Another great image is the Marilyn Monroe stamp.  The sentiment is included in the stamp beside the image of the woman.  I love the retro look of the hat and dress and the sentiment makes me laugh!


For this image I used blues and greens again, for more subtlety.


I need some practice with ink blending, but I'm working on it.
For the next three cards, I used the same ink blending technique, but I used Brutus Monroe Simple Blend stencils.  They are available in oval, square and round so far (but, I'm hoping for more!).


The oval ink blending created a lovely focal area in which to stamp the Swirly Hearts stamp.  The sentiment stamp is from a set by The Ton called Timeless Icons.  It's a great collection of quotes of Coco Chanel and Audrey Hepburn.
The next two cards follow the same style as the oval focal point card.  I made two of them using the same silhouette stamp, Martini Lady by So Suzy Stamps, with different quotes from The Ton's Timeless Icons sentiment stamp set.


I did one in cool tones and one in warm tones.  I think my girlfriends will get a kick out of these cards.
By the way, that little card stand that I've been using in my pictures was a gift with purchase when I bought some organizers from Organize More.  Thanks so much for the sweet gift!

Friday, September 14, 2018

Coffee and Tea Themed Cards

Hero Arts August 2018 My Monthly Hero Kit

Coffee

As soon as I saw this kit, I had to have it!  There are all kinds of possibilities for making encouragement cards for my girlfriends, which I love -- those are my favourite cards to make.  I was inspired by a number of watercolouring videos that I've watched on YouTube lately, so that was where I started with this set of cards.


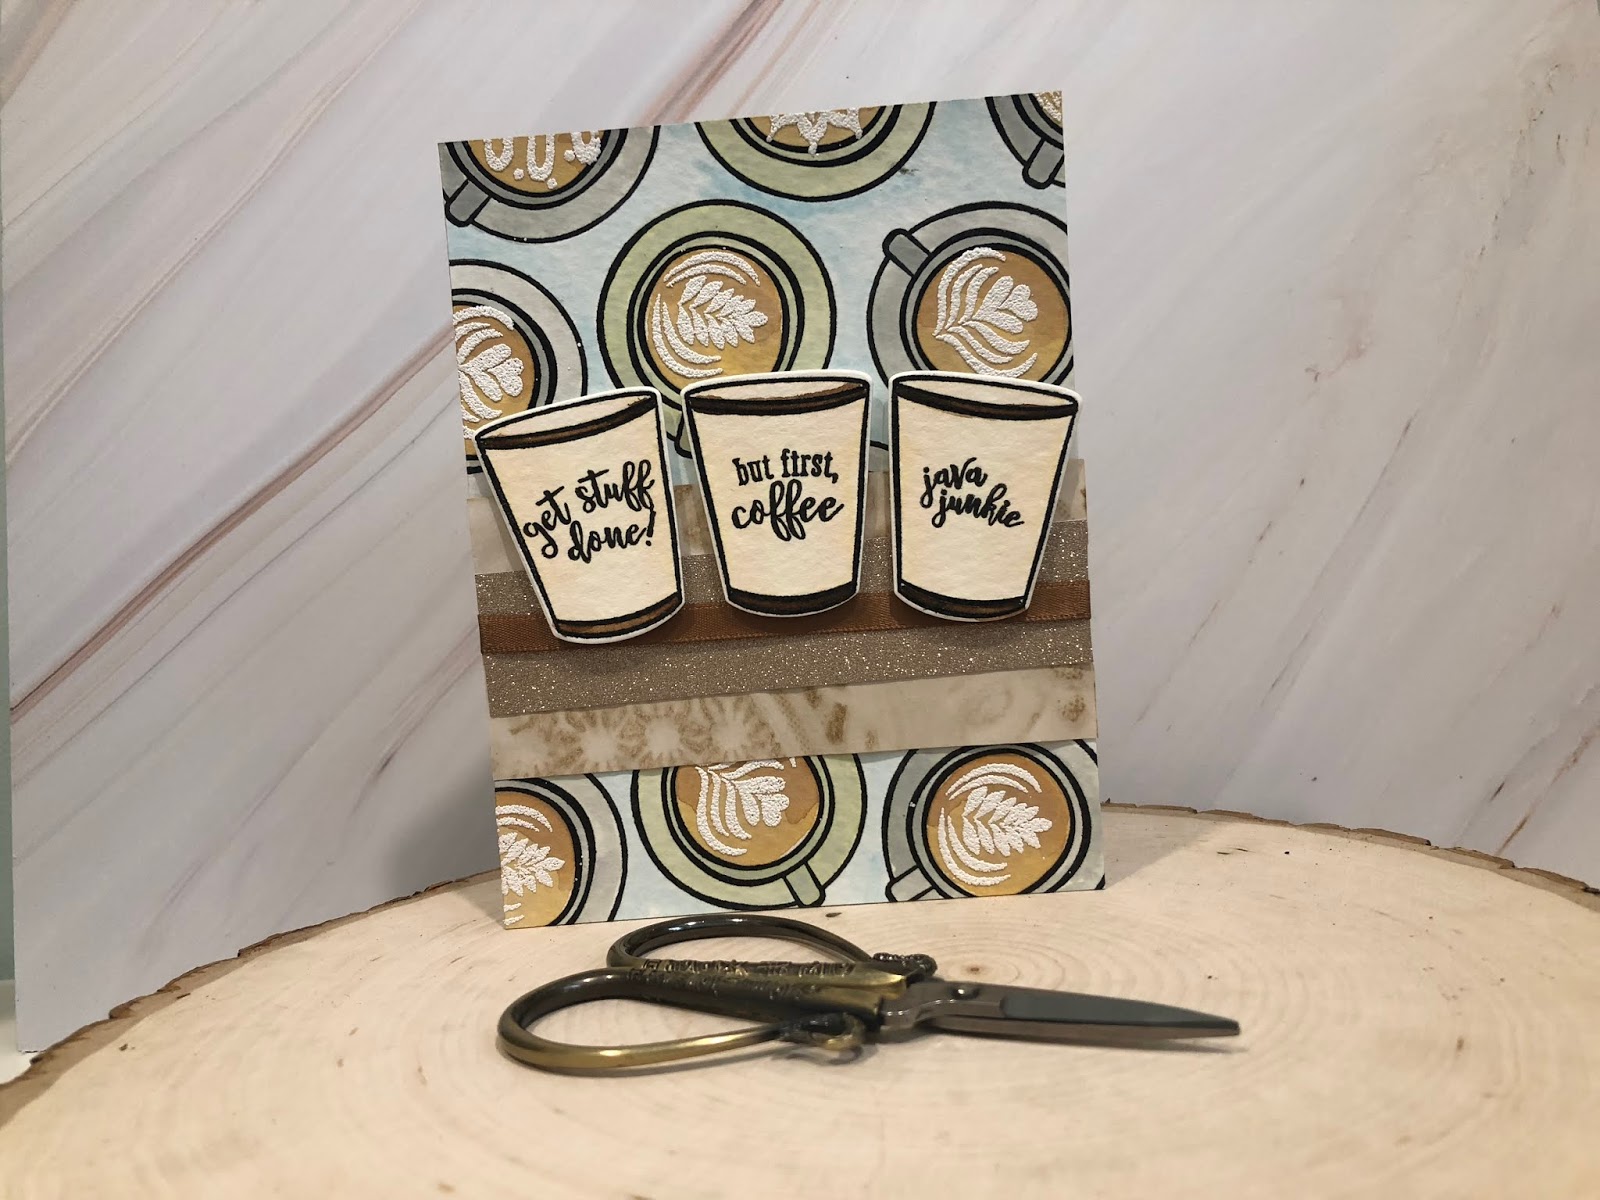
My friends tend to be coffee drinkers, so I used mostly the coffee-themed cups.  For the coffee cards I took a large scrap of watercolour paper that I had and covered it with the top view cups using Versafine Onyx Black Ink.  I let that dry and then used my Distress Oxide Inks with a water brush to paint the cups, alternating green and grey, then I coloured in the coffee with brown and, finally, I painted around the cups with a light blue wash.  My goal was a neutral tone background.

Once the background dried, I added a variety of cream designs to the cups using Versamark embossing ink.  The final touch was to add the puffy embossing powder, also included in the kit,  to the "cream" and heated it to set. 


I then cut the background down to use pieces of it on several cards.  The top card has a full card panel made from the background and the remainder of the cards incorporate smaller pieces.  I accented each card with a piece of the coffee-stained paper that was included in the kit.  I also used strips of gold foil or gold glitter paper from some Die Cuts With A View 6 x 6 inch paper packs that I have in my stash.  On one of the cards I added a strip of brown ribbon (from the kit).


The last step was to stamp and colour some of the mug and cup images from the kit.  I used Nuvo Aqua Flow pens to colour these images.  After letting them dry, I added sentiments and die cut the images.

Tea

I made an additional card in the same style that is tea-themed and I used brighter colours.


Below is a picture of all four cards together.  Because I'm a tea drinker, I'm partial to the tea-themed card!


Saturday, September 01, 2018

Balloon cards


Stenciling


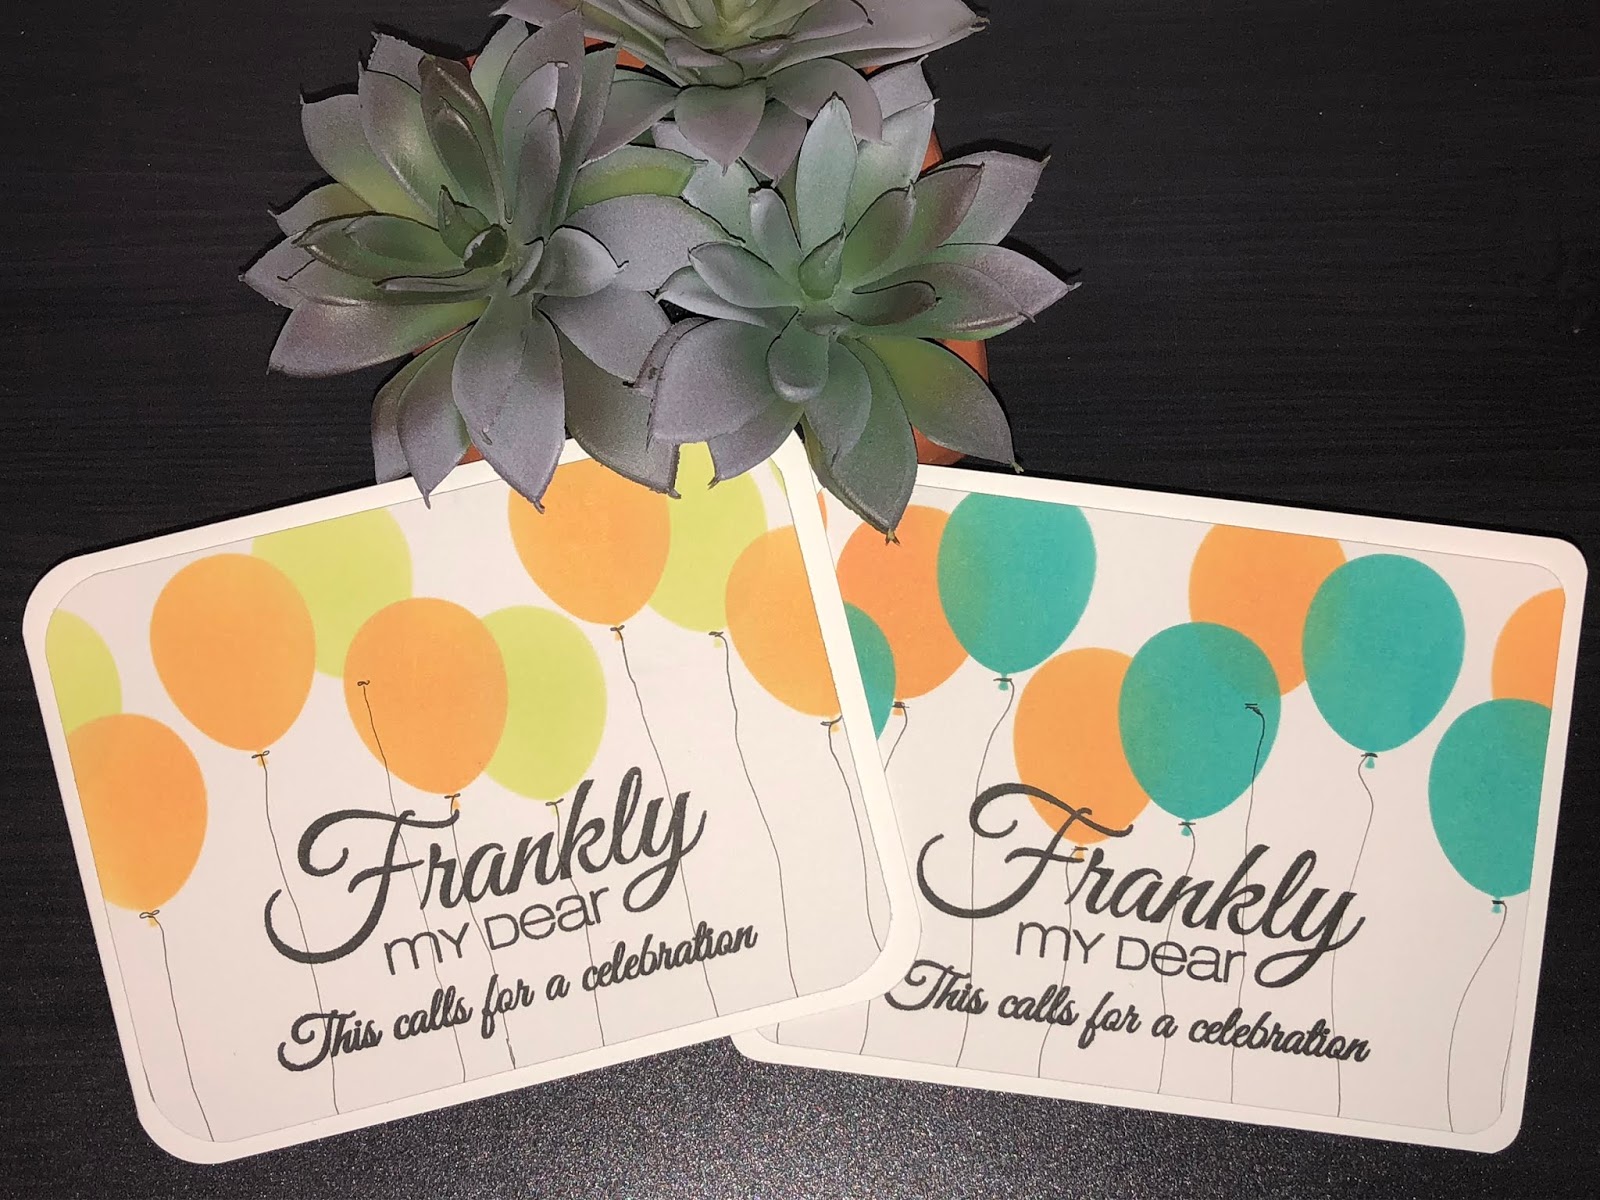
I used the Neat & Tangled Balloon Duo stencil to make some birthday cards.  


I used Strathmore Bristol paper so I could blend with Distress Oxide inks.  Two colours per card created a nice mix.  


I added balloon strings with a Copic Multiliner pen, added a sentiment from a variety of sources (Stamp of Approval, Concord & 9th), rounded the corners of the card panel and the card base with a corner chomper from We R Memory Keepers.


The last step was to pop the card panels up on 3M foam tape and add them to a card base.  I love how vibrant these simple cards can be.  This is one of my favourite stencil sets because it is easy and quick to use.  You can create beautiful birthday cards in minutes.